How to Check a Used Phone Before Buying It in Canada
Matthew Leo · Published August 13, 2026 · Guides
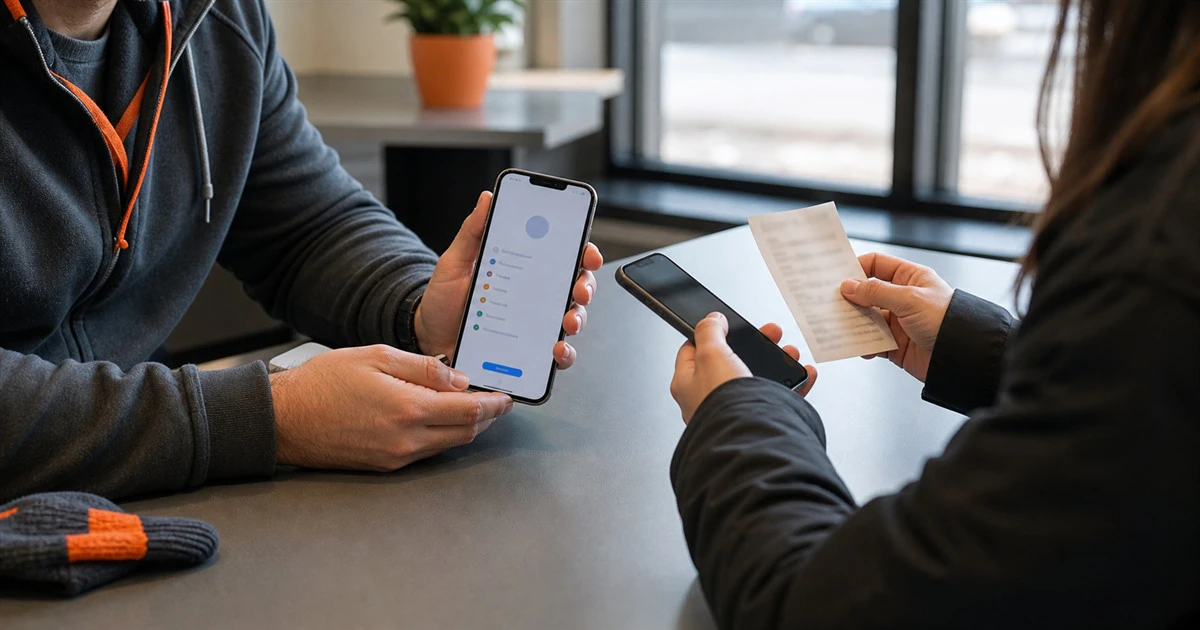
A used phone can look perfect and still become an expensive paperweight the moment you try to activate it.
The safest way to buy one in Canada is to test more than the screen and camera. You need to confirm that the phone is not reported lost or stolen, is no longer tied to the seller’s account, works on your network and has hardware worth the price.
Do those checks before sending money. A promise that “it just needs a reset” is not a substitute for watching the phone complete setup.
Start with the IMEI, but understand its limit
Every cellular phone has an International Mobile Equipment Identity, or IMEI. It is a unique device number that Canadian networks use when identifying hardware. On most phones, dial *#06# to display it. You can also find it in the device settings and often on the original box.
Enter the number at DeviceCheck.ca, the Canadian blacklist lookup supported by the wireless industry. A listed device may have been reported lost or stolen and may not work on participating Canadian networks.
Match the IMEI shown in software with the box and any receipt. If the numbers disagree, stop and ask why. A replacement device or swapped box can have an innocent explanation, but the seller should be able to document it.
A clean result is only a snapshot. It means the IMEI was not shown as blacklisted when you checked. It does not prove ownership, guarantee that the seller will never report the phone later or reveal whether the device is attached to an account lock. Save a screenshot of the result and a receipt that records the IMEI, seller, date and price.
Make the seller remove the account lock
Apple’s Activation Lock and Android’s factory-reset protection are designed to make stolen phones hard to reuse. They are valuable security features and common used-phone traps.
For an iPhone, Apple says not to take ownership if the device displays “iPhone Locked to Owner” or asks for the previous owner’s Apple Account during setup. Ask the seller to erase the phone properly and remove it from Find My. Then begin setup yourself. The Hello screen is a start, but the real test is reaching the point where the phone accepts your own account without requesting the seller’s credentials.
On Android, device protection can require a Google Account that was previously synchronized to the phone after a factory reset. The seller should remove their Google and manufacturer accounts through Settings before resetting the device. After the reset, connect to Wi-Fi and move through setup far enough to confirm that no old-account verification blocks you.
Do not accept “I will remove it later.” Once the seller leaves, Apple, Google or Samsung will not treat a marketplace message as proof that you own the phone. An original purchase receipt may help in some cases, but the easiest lock to fix is the one the seller removes while standing beside you.
Check network compatibility with your own SIM or eSIM
Phones sold by Canadian carriers have been required to be unlocked since December 2017. A used phone brought from another country can still have a foreign carrier restriction or miss radio bands used by your provider.
Insert your physical SIM before paying, or add a temporary eSIM if your carrier and the phone support it. Confirm that the device registers on the network, makes a call, sends a text and loads a webpage over mobile data with Wi-Fi turned off.
On an iPhone, Settings > General > About should show “No SIM restrictions” beside Carrier Lock when the device is unlocked. Android wording varies by manufacturer, so the practical connection test matters more than hunting for one universal menu.
Check the exact model number, not only the marketing name. A phone sold as a Galaxy or Pixel may have Canadian, U.S., European and Asian variants with different band support, SIM arrangements and warranty rules. Confirm the model against your carrier’s compatibility or bring-your-own-device page.
Inspect the parts that cost the most to repair
Take ten quiet minutes and test the phone like you intend to keep it.
- Display: show solid white, grey, red, green and blue images. Look for dead pixels, burn-in, discolouration and touch areas that do not respond.
- Cameras: test every rear lens and the front camera. Switch between photo and video, focus near and far, and listen for abnormal clicking.
- Audio: play sound through the speaker, record a voice memo and make a call to check the earpiece and microphones.
- Buttons and ports: test power, volume, mute or action controls, charging, data connection and the SIM tray.
- Wireless: join Wi-Fi, pair a Bluetooth device and confirm NFC or tap-to-pay support is present if you depend on it.
- Biometrics: set up your own fingerprint or face. A failed biometric system can point to damage or a poorly completed repair.
Remove the case and inspect the frame in good light. A small scratch is cosmetic. A bent frame, separating screen, swollen back or fog inside a camera lens is a reason to walk away.
Battery health changes the real price
An inexpensive phone with a failing battery may cost more than a better example once service is included.
On iPhone, review Settings > Battery > Battery Health. Maximum capacity is an estimate, not a perfect test, but a result near or below 80% means the buyer should budget for shorter runtime and likely replacement. Look for an important battery message or an unknown-part warning.
Android battery-health menus vary. Some newer devices show cycle count or a diagnostic result; others require the manufacturer’s support app. Charge the phone, use it for several minutes at high brightness and watch for rapid drops, unexpected heat or shutdowns.
Ask where the phone was repaired and whether the display, battery or camera has been replaced. A good independent repair is not automatically a problem. A seller who hides it is.
Check update support before chasing a bargain
A phone can be physically excellent and already close to the end of security updates. Search the manufacturer’s official support policy for the exact model and confirm the date it first went on sale.
That matters more than the age shown in an advertisement. A sealed three-year-old phone may have less supported life remaining than a lightly used current model.
Mapletechie’s analysis of the Galaxy Z Fold 8’s ownership cost makes the same point at the premium end: repair cost and useful life belong in the purchase price. Used buyers should be even stricter because warranty coverage may be limited or absent.
Use a payment method and receipt that protect you
Meet in a well-lit public place with Wi-Fi and power. Some police services offer exchange zones. Avoid a rushed handoff in a parking lot where you cannot complete activation.
For an online purchase, prefer a marketplace or card that provides a documented dispute process. Do not move the payment off-platform merely because the seller offers a discount. Read the return terms for refurbished devices; “final sale” shifts nearly all risk to the buyer.
Your receipt should include the phone make, model, storage, colour, IMEI, agreed condition, price, date and both parties’ names. Keep screenshots of the listing and conversation. Do not publish the IMEI in a public review or social post.
A five-minute final test before payment
- Compare the IMEI in Settings, on the box and on the receipt.
- Run the Canadian blacklist check and save the result.
- Erase the device and begin setup with the seller present.
- Confirm that no Apple, Google or manufacturer account lock remains.
- Connect to your Canadian carrier and test call, text and data.
- Test charging, cameras, audio, buttons, biometrics and the full touch screen.
- Record the IMEI and condition in a signed receipt before paying.
A legitimate seller may find the process thorough. They should not find it threatening. The checks protect both sides by proving which phone changed hands and what condition it was in.
The best used-phone deal is not the lowest asking price. It is the phone you can activate, update, repair and document after the seller has gone.