Create a Windows Recovery Drive Before the PC Fails
Matthew Leo · Published August 19, 2026 · Guides
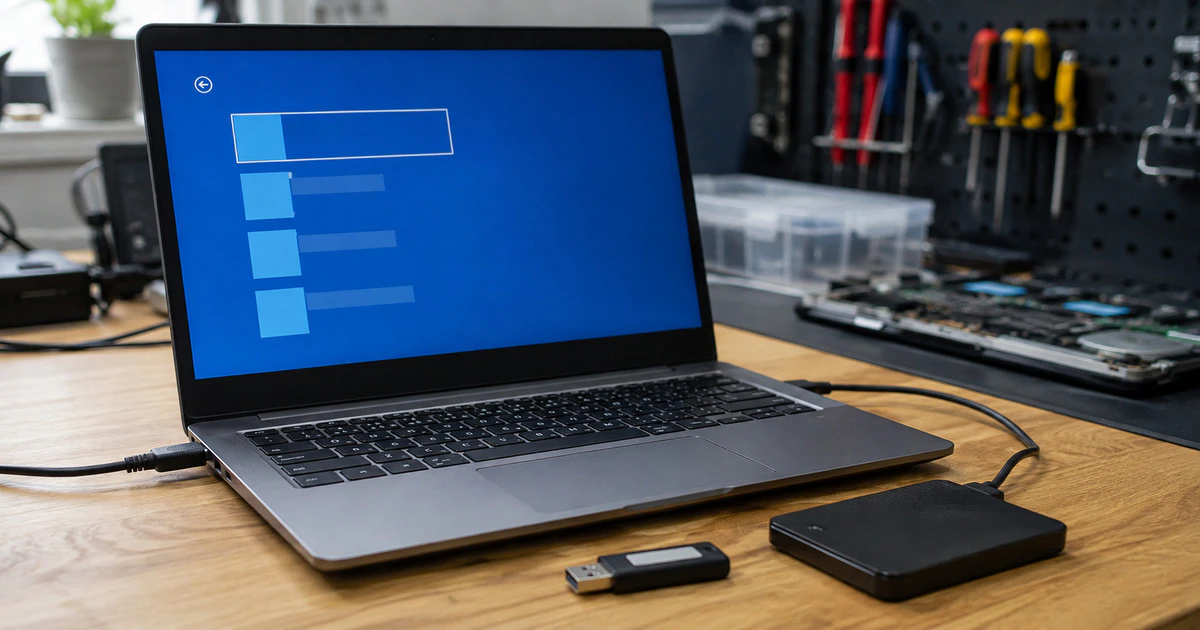
A Windows recovery drive can reinstall the operating system after a serious failure, but it will not rescue your documents, photos or passwords. You need the USB and a separate personal backup.
Create the recovery drive while the PC works. The process erases the selected USB, can take a long time and produces media intended for the computer that created it.
This guide applies to Windows 11 and Windows 10. Work and school PCs may be managed, so check with the administrator before creating or using recovery media.
Prepare the right USB and backups
Use an empty, reliable USB drive. Windows will tell you the required capacity after it scans the recovery files; 32 GB is a practical starting point for many current systems, but requirements vary.
Disconnect other removable drives before beginning. That simple step reduces the chance of erasing a photo drive or work backup by selecting the wrong disk.
Back up personal files separately with Windows Backup, File History or another tested method. Microsoft’s current Recovery Drive documentation states that recovery media contains system files, updates and manufacturer customizations, not personal files.
Create the recovery drive
- Connect the empty USB drive.
- Open Start and search for Recovery Drive.
- Approve the User Account Control prompt.
- Keep Back up system files to the recovery drive selected.
- Choose Next and wait while Windows calculates requirements.
- Select the USB carefully, choose Next, then Create.
- Leave the PC connected to power until the process finishes.
You can also open the tool by running recoverydrive.exe. Do not use the PC’s power button to interrupt it. If the process fails, restart Windows, install pending updates and try a different known-good USB.
Label and protect the finished drive
Label it with the PC name, model and creation date. Do not store unrelated files on it or use it as an everyday transfer drive.
Keep it near the computer but not inside the same laptop bag. Theft, fire or spilled coffee should not take both the machine and its recovery route.
Microsoft recommends recreating recovery media annually so it includes newer updates and improvements. Also recreate it after a major hardware repair or manufacturer recovery change.
Save the BitLocker recovery key separately
A recovery USB does not replace the 48-digit BitLocker key. Firmware changes or attempts to reach an encrypted Windows installation can trigger a key request.
Confirm that the correct key is stored in your Microsoft account, work or school account, printed record or another protected location. Match the key identifier to the PC. Do not keep the only copy in a file on the encrypted drive.
Mapletechie’s laptop-theft preparation guide explains how to verify encryption and recovery keys before travel.
Test that the PC can see the USB
You do not need to start a reinstall to test the media. Restart into the manufacturer’s one-time boot menu, confirm that the USB appears, then exit without selecting recovery.
The boot-menu key varies by manufacturer and may be F12, Esc, F9 or another key. Some PCs can enter advanced startup from Settings, System, Recovery, Advanced startup.
If the USB is missing, try another port. A USB-A port may work when a USB-C hub is not initialized during startup. Secure Boot normally supports Microsoft recovery media, so avoid disabling security settings unless the manufacturer specifically requires it.
| Recovery tool | What it restores | What it does not replace |
|---|---|---|
| Windows recovery drive | Windows system and manufacturer recovery files | Personal-file backup |
| BitLocker recovery key | Access to an encrypted drive after a security trigger | Windows installer or data backup |
| Windows Backup or File History | Selected personal files and settings | Bare-metal recovery media |
| Manufacturer recovery image | Model-specific factory software | Current files and applications |
Use recovery only after safer options
If Windows still starts, try ordinary updates, driver rollback or System Restore first. If it will not start, Windows Recovery Environment may offer Startup Repair or uninstalling a recent update without a full reinstall.
Booting from the recovery USB and choosing Recover from a drive can remove files and applications. Microsoft offers options to remove files quickly or fully clean the drive. Neither should be started until the personal backup is verified.
For a failing storage drive, repeated reinstall attempts may make data recovery harder. Stop and seek professional help when the disk disappears, makes unusual noises or produces repeated read errors.
Before any reinstall, photograph the error and note which recovery options were attempted. That small record helps a technician avoid repeating destructive steps.
Keep a recovery set, not one magic stick
- Windows recovery USB
- Verified personal-file backup
- BitLocker recovery key
- Microsoft Account recovery information
- PC model, serial number and manufacturer support link
The USB solves one narrow problem: reinstalling Windows when the built-in recovery environment is unavailable. It becomes genuinely useful only when the files and keys it cannot contain are protected elsewhere.
Tags: Windows 11, recovery drive, USB, Backup, PC repair