Fix One AirPod When It Suddenly Goes Silent
Matthew Leo · Published August 12, 2026 · Guides
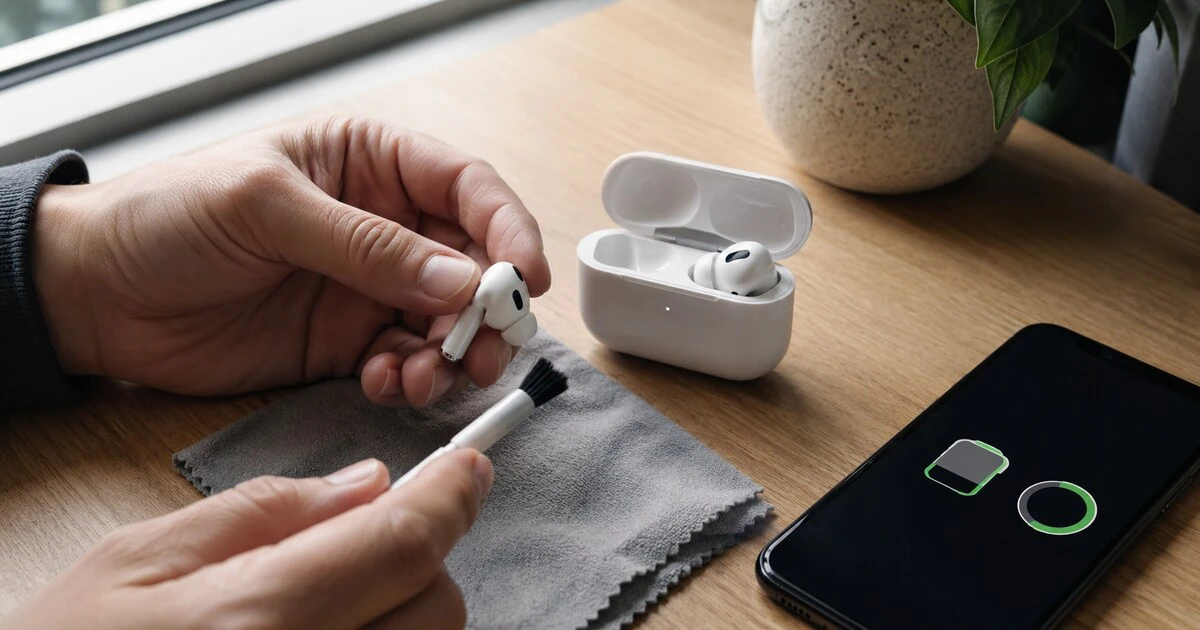
One silent AirPod does not automatically mean one dead AirPod.
The quiet side may not have charged, the case contact may be dirty, the audio balance may have shifted or the pair may have lost synchronization. Test the failing earbud by itself before resetting everything. That tells you whether the problem is power, sound or pairing.
These steps apply to AirPods and AirPods Pro used with a current iPhone or iPad. AirPods Max use a different restart process and are not covered here.
Check whether each AirPod is charging
Charge the case first. Place both AirPods inside, close the lid and wait at least 30 seconds. Open the case near the iPhone or iPad and check the battery card.
Apple’s current troubleshooting sequence begins by confirming that each AirPod shows a charge. If one side is missing or remains at zero, the problem is likely between that earbud and the case rather than the Bluetooth connection to the phone.
Remove and reseat the silent AirPod. It should settle into the charging well magnetically. Compare the response with the working side. A case that charges one earbud normally has power, but one contact can still be obstructed or damaged.
Clean the earbud and case without adding damage
Inspect the bottom of the AirPod stem and the matching well inside the case under good light. Dry debris can prevent contact.
Use a clean, dry, soft-bristled brush or lint-free cloth. Do not push metal tools into the case, pour cleaner into the charging well or place a wet earbud back inside. Moisture and damaged contacts can turn a simple obstruction into a repair.
When the case itself will not charge, connect the correct USB-C or Lightning cable and a known-good power adapter. Apple recommends charging AirPods and their case for at least 15 minutes before checking again.
If the earbud now shows a battery percentage, leave both sides charging for several minutes and retest.
Test the silent AirPod alone
Put the suspected AirPod in the correct ear and leave the working one in the case with the lid closed. Play a familiar audio track at a moderate volume.
This removes confusion caused by the louder side. If the earbud works alone, return both to the case for 30 seconds and test them together. A temporary synchronization problem may have cleared.
If it connects but sounds unusually quiet, inspect the speaker mesh. Earwax and dust can reduce volume without stopping playback completely. Follow Apple’s cleaning instructions for the exact model; AirPods Pro ear tips can be removed and cleaned differently from the electronic body.
Avoid sharp objects and compressed air. Damage to the mesh can alter sound and water resistance.
Check audio balance and accessibility settings
Open Settings, Accessibility, Audio & Visual. The Balance slider should normally sit in the centre between left and right.
A slider moved fully to one side makes the other AirPod appear silent even when it is working. Move it to the middle and test again.
Also turn Mono Audio off for the test unless you intentionally use it. Then open Settings, Bluetooth, tap the information button beside the AirPods and review any model-specific controls that affect automatic ear detection.
Automatic Ear Detection can pause or route sound incorrectly when a sensor is dirty or the fit is unusual. Disable it briefly as a diagnostic step, then turn it back on if it was not the cause.
Forget and reconnect the pair
Place both AirPods in the case and close the lid. Wait about 30 seconds. On the iPhone or iPad, open Settings, Bluetooth, tap the information button beside the AirPods and choose Forget This Device.
Open the case near the unlocked device and follow the pairing prompt. This removes the saved Bluetooth relationship, not the AirPods from your Apple Account permanently.
If the AirPods are used with an Android phone or Windows computer, remove them from that device’s Bluetooth list and pair again. Battery information and Apple-specific controls may be more limited outside Apple devices.
Use the reset method for your model
The reset gesture differs across generations. Older AirPods and AirPods Pro cases use the setup button on the back. Newer cases, including AirPods 4 and AirPods Pro 3, use taps on the front.
Apple’s reset instructions identify the correct sequence by model. For button-equipped cases, hold the setup button for about 15 seconds until the status light flashes amber and then white. For supported front-tap cases, Apple uses a timed series of double taps while the status light changes.
Do not copy a reset video without checking which case it shows. Pressing for 15 seconds on a case without the same control will not repair it.
After the light flashes white, place the open case near the device and reconnect. Test both earbuds before restoring customized controls.
Rule out the phone and the source
Try another application and a downloaded audio file. A single podcast, video or call may have a channel problem unrelated to the AirPods.
Restart the phone and install the latest supported system update. AirPods firmware installs automatically while the earbuds are charging near a connected Apple device; there is no ordinary manual firmware button.
If possible, pair the AirPods with another trusted device. A failure that follows the same earbud points toward the AirPod or case. A problem that exists only on one phone points toward its settings or software.
Know when replacement is the sensible answer
Arrange service when one AirPod never appears in the battery card, remains at zero after cleaning and charging, becomes unusually hot, has visible liquid damage or stays silent after a correct reset on more than one device.
Apple can replace an individual AirPod or charging case, so losing one side does not necessarily require buying a complete new set. Confirm the Canadian service price and warranty coverage before agreeing to repair.
Do not continue using an earbud that swells, overheats or smells unusual. Place it away from combustible material and contact an authorized service provider.
The useful order is simple: prove it charged, test it alone, check the balance, reconnect, then reset. That sequence often restores the missing side without erasing settings or buying a replacement prematurely.
Tags: AirPods, Apple, wireless earbuds, audio troubleshooting, charging