Fix SOS Only or No Service on Your Phone
Matthew Leo · Published August 17, 2026 · Guides
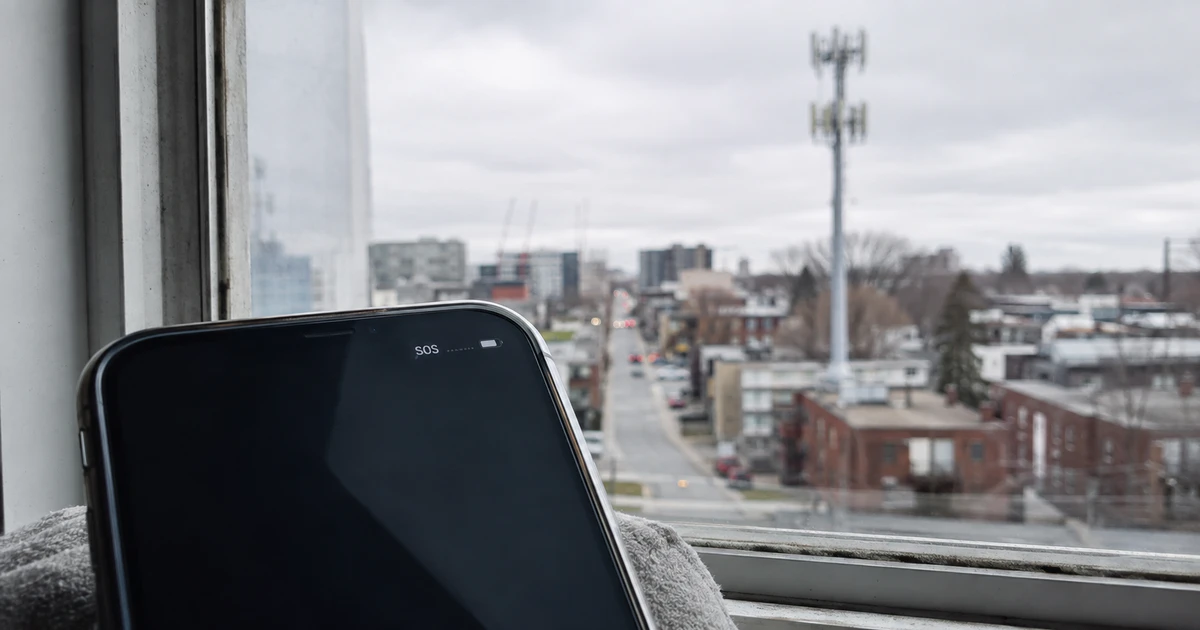
“SOS Only” means your phone has lost its normal carrier connection, but it may still be able to reach emergency services through another available network.
Do not erase the phone or delete an eSIM first. Most no-service problems are better diagnosed by checking location, outages, account status and the active SIM line in a low-risk order.
This guide covers current iPhones and Google Pixel phones, with settings that are broadly similar on other Android devices. Menu names can vary by manufacturer and carrier. You need Wi-Fi for several checks and should have the carrier account login or another way to contact support.
Know what the message means
Apple explains that SOS or SOS Only in Canada means the iPhone is not connected to its regular carrier, though emergency calls may still be possible through another network. “No Service” or “Searching” means the device has no normal cellular connection.
On Android, wording varies. You may see Emergency calls only, No SIM, Mobile network unavailable or an empty signal indicator. The troubleshooting logic is the same: determine whether the problem belongs to the area, account, SIM profile, software or hardware.
Never place a test call to 911. If you have a real emergency, call 911 and follow the operator’s instructions. A displayed SOS indicator is not a guarantee that every emergency call will connect in every location.
Check whether the problem is local
Move outside or near a window, especially in a basement, concrete building, elevator or remote area. Thick materials and terrain can block signals even when a coverage map shows service nearby.
Ask another customer on the same carrier whether they have service. Check the provider’s official outage page or status account using Wi-Fi. A neighbourhood outage needs time and carrier action, not repeated changes to the phone.
If service returns after moving a short distance, record the location and time. Recurring gaps at home or work are useful evidence when asking the carrier about coverage, Wi-Fi calling or a network ticket.
Refresh the connection safely
- Turn Airplane Mode on, wait at least 15 seconds, then turn it off.
- Wait a minute for the phone to register on the network.
- Restart the phone if service does not return.
These steps force a fresh network registration without deleting settings or data. Avoid flipping Airplane Mode repeatedly; one deliberate cycle is enough to test the connection.
Inspect the active SIM or eSIM line
On an iPhone, open Settings, Cellular, then select the line. Confirm Turn On This Line is enabled. With Dual SIM, make sure the intended line is selected for calls and cellular data.
On a Pixel, open Settings, Network & internet, SIMs. Confirm the required SIM is enabled and selected for calls, texts and mobile data. Google’s current Pixel instructions apply to Android 11 and later, though options vary by phone and carrier.
If a physical SIM was recently moved, power down before removing and reseating it. Inspect the card and tray for damage. Do not cut a SIM to fit. Ask the carrier for a replacement if it is cracked, corroded or the wrong size.
Do not delete an eSIM merely to “start over.” Reinstalling it may require a carrier QR code, app login or identity check. Contact the carrier first and confirm the recovery route.
Check the account and device status
Only the carrier can confirm whether the account is active, a payment block exists, the IMEI has been barred or an activation is incomplete. Contact support from another phone or over Wi-Fi and ask for each point explicitly.
A used phone can be added to Canada’s lost-and-stolen-device blacklist after purchase. If the seller’s account or financing status is involved, ordinary network troubleshooting will not remove that restriction.
For a newly transferred number, ask whether the port is complete. Do not cancel the old service yourself during a number transfer; the receiving carrier normally coordinates the move.
Install carrier and system updates
Connect an iPhone to Wi-Fi, then open Settings, General, About. If a carrier-settings update is available, iOS will offer it. Apple also recommends installing the latest compatible iOS release.
On Android, open Settings, System, Software updates on a Pixel; other manufacturers may use Software update under the main Settings menu. Install updates while the battery is charged and the phone has a reliable Wi-Fi connection.
If the failure began immediately after an update, document the software version and time. That helps the carrier or manufacturer distinguish a network outage from a device-specific regression.
Reset network settings only after the checks
A network-settings reset can clear corrupted cellular configuration, but it may also remove saved Wi-Fi networks, VPN settings and related preferences. Record what you will need to restore.
On a Pixel, go to Settings, System, Reset options, Reset Mobile Network Settings. On iPhone, go to Settings, General, Transfer or Reset iPhone, Reset, then Reset Network Settings. Read the confirmation carefully and do not choose Erase All Content and Settings.
Restart, allow the phone to reconnect and test a normal call, text and data session. Re-add Wi-Fi and VPN details afterward.
Know when to stop troubleshooting
Escalate to the carrier when several devices on the same account fail, the account or port is incomplete, the SIM reports an error, or service disappears only in one coverage area.
Escalate to the phone maker or a qualified repair provider when the carrier confirms the account and network are working but the handset still cannot connect. Damage after a drop, liquid exposure or a failed SIM tray can point to hardware.
Before repair, make a verified backup and follow the manufacturer’s privacy instructions. A factory reset is a last diagnostic step, not a ritual. If the carrier has not cleared the line and IMEI, erasing the phone will leave you with the same outage and less data.
Tags: iPhone, Android, cellular service, eSIM, troubleshooting