Transfer Your eSIM Before Erasing Your Old Phone
Matthew Mbaka · September 22, 2026 · Guides
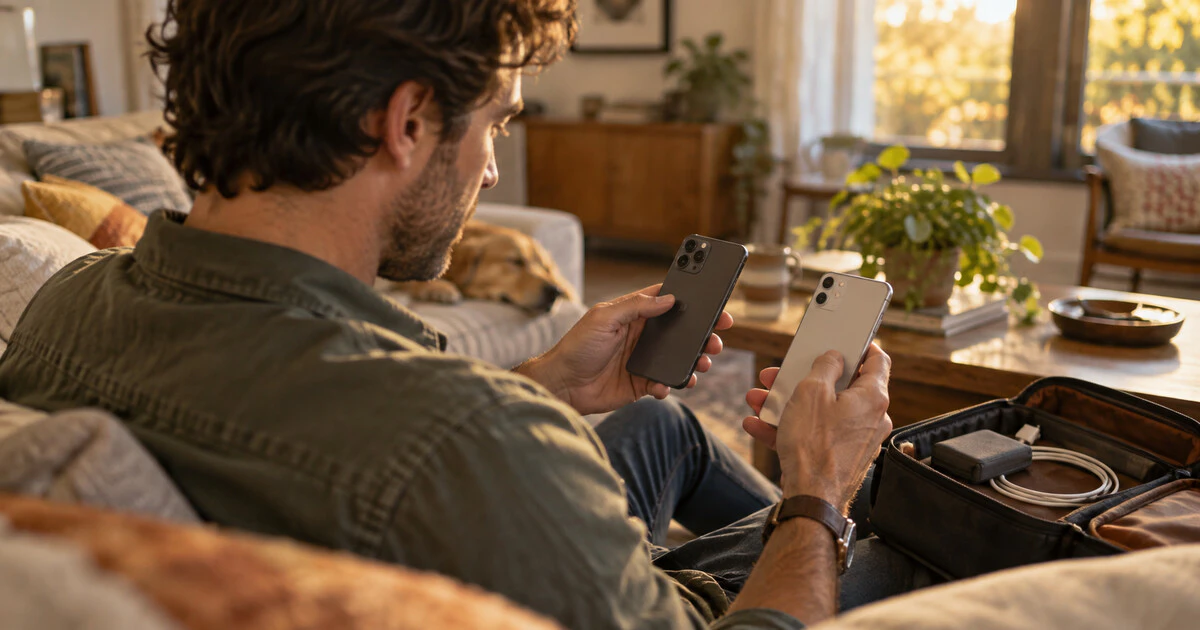
An eSIM can make changing phones easier because there is no plastic card to move. It can also leave you without service if you erase the old phone before the new one has fully activated.
Move the number while both phones still work. Keep the old phone charged, connected to Wi-Fi and close to the new one. Do not trade it in, reset it or remove its account until you have tested calls, texts and mobile data on the replacement.
Start with the carrier, not the phone menu
Your phone may support eSIM while your plan, carrier or exact transfer path does not. Canadian carriers can require their own app, an account sign-in, a QR code or help from support. A device bought outside Canada may also need an IMEI check before activation.
Before starting, confirm:
- The new phone is unlocked or compatible with your carrier.
- You can sign in to the carrier account and reach its verification method.
- You know the phone's passcode and Apple or Google account credentials.
- You have stable Wi-Fi in case mobile service drops during the transfer.
- You have a second way to contact the carrier if both phones lose service.
Write down the carrier's support number before you begin. If the only copy is in an app on the phone being erased, it will not help later.
Transfer an eSIM from iPhone to iPhone
Apple's current eSIM instructions say Quick Transfer requires carrier support. Both iPhones should be signed in to the same Apple Account, nearby with Bluetooth turned on and running iOS 18.4 or later. The old iPhone must be unlocked with its passcode.
During setup, choose the option to transfer your phone number and follow the prompts on both devices. If the new iPhone is already set up:
- Open Settings on the new iPhone.
- Tap Cellular.
- Tap Set Up Cellular or Add eSIM.
- Choose the plan, or tap Transfer From Nearby iPhone.
- Approve the transfer on the old iPhone and enter any displayed verification code.
- Wait for activation to finish.
When the plan activates on the new iPhone, the previous SIM is deactivated. If a banner asks you to finish the carrier setup, follow it. Do not assume the transfer is complete just because the number appears in Settings.
Set up an eSIM on a Pixel or another Android phone
Android transfer support varies more by manufacturer and carrier. On a Pixel, Google's current setup path is Settings > Network & internet > SIMs > Add SIM > Set up an eSIM. During initial setup, you may instead see Download SIM.
If the plan is not detected automatically, the carrier may need to activate it first. Google advises people who did not buy the phone from their carrier to confirm eSIM support and provide the device IMEI.
Some current phones and carriers can transfer an eSIM directly between Android and iPhone. Others still require a new carrier activation or QR code. Treat cross-platform transfer as a carrier feature, not something every compatible phone can do on its own.
Test the new phone before erasing anything
Turn off Wi-Fi on the new phone and check all of these:
- Place an outgoing call.
- Receive a call from another number.
- Send and receive an SMS text.
- Open a webpage over mobile data.
- Confirm the correct number is selected for calls and data if you use dual SIM.
- Test voicemail and Wi-Fi calling if you depend on them.
Also move the services that ride on top of your number. Mapletechie's guides explain how to move authenticator codes and transfer WhatsApp chats between iPhone and Android. An active phone number does not restore either one automatically.
If activation gets stuck
Do not repeatedly delete the eSIM profile unless the carrier tells you to. A QR code may be single-use, and removing a partially activated profile can make recovery harder.
Restart the new phone once, confirm it has Wi-Fi and install any pending system update. Check that the IMEI you gave the carrier belongs to the new device. If the old phone already lost service, keep it powered on and available because the carrier may still ask for account or device details.
Contact the carrier when the phone shows no plan, activation remains pending, calls work but data does not, or the number appears on both devices without functioning properly. These problems usually cannot be fixed by resetting network settings alone.
Only erase the old phone after a final check
Keep the old device for at least a few hours if your trade-in deadline allows it. Confirm that banking alerts, account-recovery messages and everyday calls reach the new phone. Then sign out and erase the old device using the manufacturer's instructions.
The safe order is simple: activate, test, move dependent accounts, then erase. Reversing it turns a routine phone upgrade into a carrier support problem.
Tags: eSIM, iPhone, Android, mobile carriers, phone setup